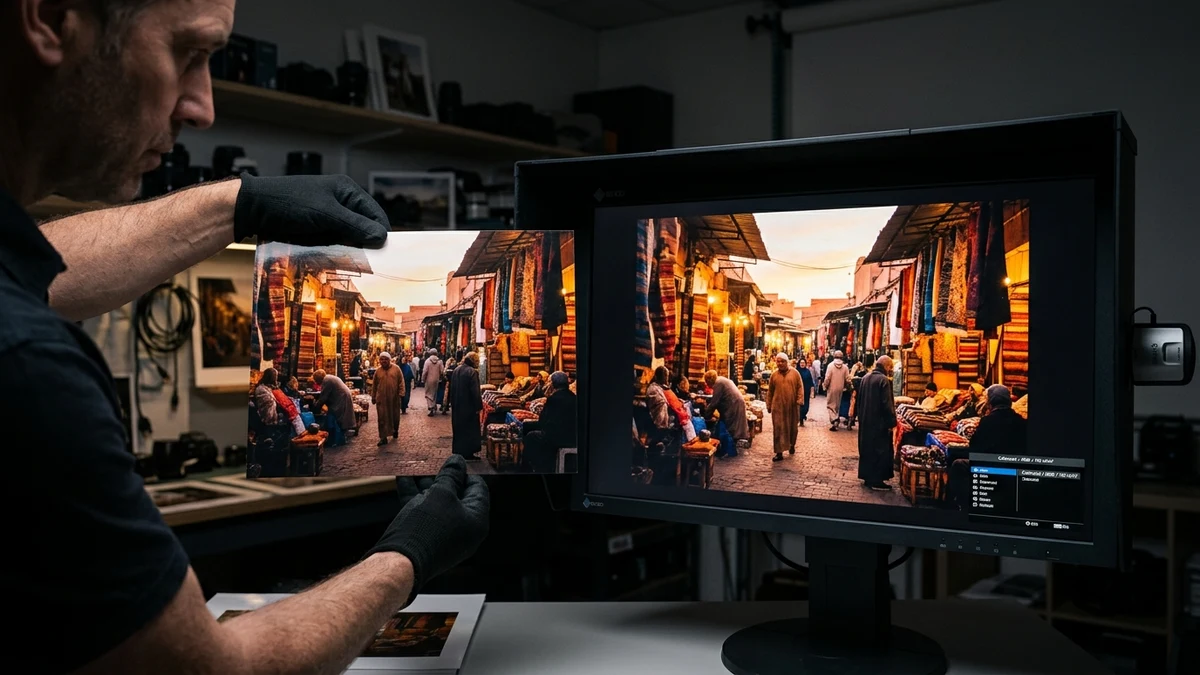
The most frequent complaint among photography enthusiasts using desktop photo printers is: "My photo looked brilliant, bright, and vibrant on my computer screen, but came out dull and dark on paper." Fortunately, your printer is not broken. This phenomenon is a universal physical discrepancy between backlit screens and reflective paper that can be corrected in minutes.
1. The Science: Emissive Light vs. Reflective Light
Computer displays generate color by shining LED or OLED light directly into your retinas through red, green, and blue subpixels (additive color synthesis). Photo paper, however, relies on subtractive color synthesis: white ambient light passes through translucent cyan, magenta, yellow, and black ink droplets, hits the paper's reflective backing, and bounces back to your eyes.
When you edit a photo on a monitor running at 100% factory brightness, you subconsciously dial down exposure and shadow sliders because the screen artificially illuminates dark regions. When sent to paper, those shadows become muddy and dark.
2. Step-by-Step Fixes to Achieve Screen-to-Print Parity
Fix 1: Lower Your Monitor Luminance
Calibrate your monitor's brightness down to standard photo printing ambient levels:
- For standard room lighting, set your display brightness between 100 cd/m² and 120 cd/m² (often between 25% and 40% on monitor brightness sliders).
- Hold a blank sheet of genuine Epson photo paper next to your monitor while viewing a pure white web page in a well-lit room. Adjust screen brightness until the white on screen closely matches the brightness of the physical paper.
Fix 2: Select the Exact Media Profile in Epson Photo+
Ink absorption, drying rate, and color density differ drastically between paper finishes. Inside Epson Photo+, navigate to Print Settings > Paper Type and choose the exact formulation:
- Epson Ultra Glossy: Highest optical density, deep blacks, high dynamic contrast.
- Epson Premium Luster: Studio portrait standard, textured finish that diffuses glare.
- Epson Matte / Velvet Fine Art: Absorbs more ink; requires a slight boost in shadow midtones for vibrant output.
Fix 3: Utilize Epson PhotoEnhance Auto-Correction
If you are printing non-color-managed JPEGs or smartphone photos, toggle Epson PhotoEnhance to On in the Epson Photo+ settings. PhotoEnhance dynamically boosts shadow luminance (+15%), corrects underexposed backlit faces, and applies intelligent scene recognition.
Fix 4: Verify Nozzle Health
If prints appear dark with a greenish or purplish color cast, a specific color channel (such as yellow or light cyan) may have clogged nozzles. Run a Nozzle Check pattern from the Epson printer utility to ensure all PrecisionCore jets fire cleanly.
Summary & Next Steps
By lowering your monitor brightness to realistic printing levels and ensuring Epson Photo+ utilizes the correct paper profiles, your physical prints will match your screen with stunning fidelity. Learn more about optimal printer configurations on our Epson Photo+ homepage or discover the differences in Epson Photo+ vs Print Layout.