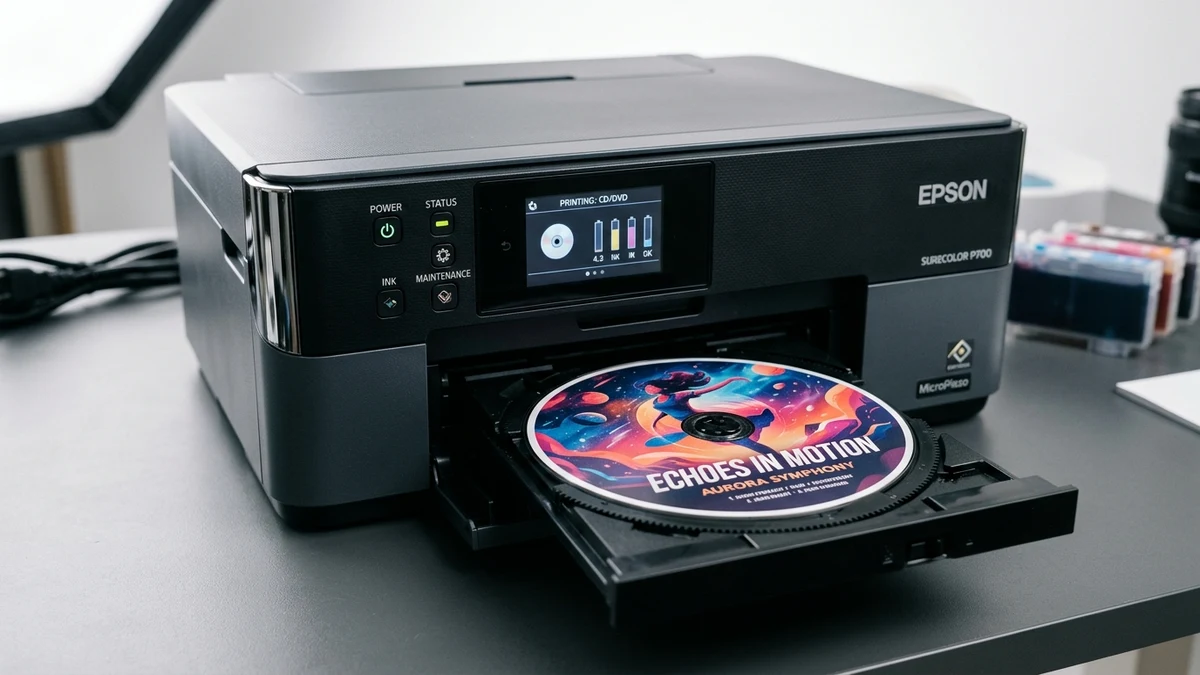
Printing directly onto printable optical discs (CD-R, DVD-R, Blu-ray) and PVC identification cards creates a stunning, commercial-grade presentation that adhesive paper labels cannot match. With Epson Photo+, designing circular disc artwork with custom inner/outer diameters is simple, fast, and completely free.
1. Supplies & Media Requirements
Before launching the software, ensure you have the proper media on hand:
- Inkjet-Printable Discs: Discs coated with a specialized microporous inkjet absorption layer (labeled "Inkjet Printable" or "White Thermal Printable"). Standard glossy or foil discs will repel water-based ink.
- Epson Disc Tray: The official plastic feed tray that originally shipped in the box with your printer.
- High-Resolution Artwork: Digital images with a minimum resolution of 1400x1400 pixels for crisp 300 DPI circular output.
2. Designing Disc Artwork in Epson Photo+
- Open Epson Photo+ Project Menu: Launch Epson Photo+. From the project selection screen, click Disc Label (or Card for PVC IDs).
- Select Disc Diameter Presets: In the template options, specify whether your printable media has a standard 43mm hub or a small inner ring (21mm full-surface printable). Epson Photo+ provides exact dimension sliders to prevent ink from overspraying into the center hole.
- Import Photos & Artwork: Click Add Image. Drag your artwork into the circular guide. Use the circular positioning handles to center faces, album art, or event titles.
- Add Custom Typography & Decorative Elements: Click Add Text to insert album names, track listings, dates, or commemorative messages. Choose from system fonts, adjust kerning, add curved circular text along the disc rim, and select text outline colors for maximum legibility.
3. The Physical Printing Process
- Place your blank printable disc into the recessed circular slot of the Epson disc tray, ensuring it sits completely flush.
- Lower the printer's front output tray into the flat disc-printing position.
- Insert the loaded disc tray into the dedicated tray slot until the white arrows on the tray align with the arrows on the printer housing.
- In Epson Photo+, click Print. The printer will pull the tray into the chassis, register the alignment guides, and print the disc in approximately 60 to 90 seconds.
4. Drying and Longevity Tips
Allow freshly printed discs to dry on a flat surface for at least 15 to 20 minutes before inserting them into disc drives or plastic jewel cases. If handling discs frequently, use water-resistant glossy inkjet discs for permanent scratch and smudge resistance.
For additional creative tools, see our review of companion utilities such as Epson Print CD and learn how to manage printer colors in our screen calibration guide.