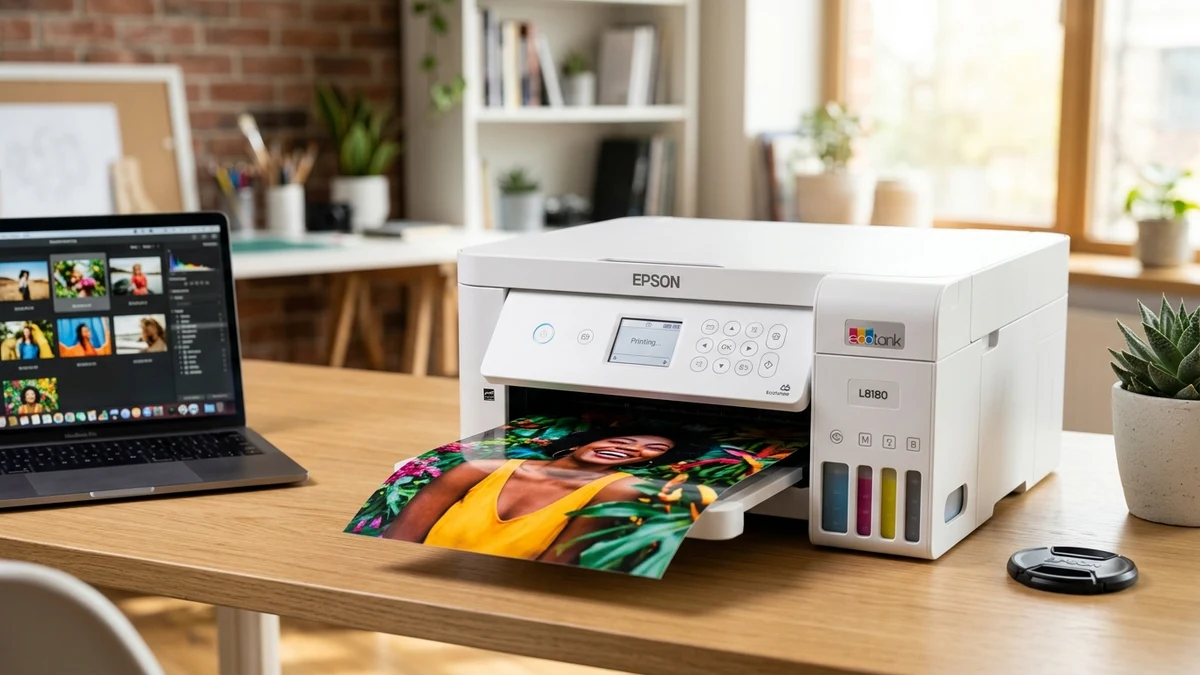
Printing photos without an unsightly white border is one of the most coveted capabilities of modern Epson inkjet photo printers. Whether you are using an EcoTank photo printer (such as the L8050, L8180, or ET-8550) or an Expression Premium photo unit, Epson Photo+ provides the most reliable software engine for borderless image output.
1. Understanding the Borderless Printing Mechanism
Standard desktop document printing relies on fixed mechanical margins (typically 3mm on all sides) to prevent ink from spilling over the edge of the paper and staining the printer platen. In contrast, borderless printing physically enlarges the image slightly beyond the physical edges of the paper sheet. The printer's PrecisionCore MicroTFP print head disperses micro-droplets directly past the perimeter into specialized ink-absorbent platen sponges.
Generic photo viewers in Windows or macOS often fail because they lack direct communication with Epson's paper width sensors, resulting in either cropped faces or faint white borders. Epson Photo+ solves this by locking directly into the printer's native firmware boundary definitions.
2. Supported Paper Sizes for Borderless Output
Not all paper dimensions allow borderless feeding. Ensure your desired size is officially supported by your Epson hardware:
- Standard Snapshot: 10x15 cm (4x6 in) and 13x18 cm (5x7 in).
- Portrait & Studio: 20x25 cm (8x10 in) and 13x13 cm square.
- Document & Art Formats: A4 (210x297 mm), Letter (8.5x11 in), and A3+ (329x483 mm on wide-format models).
3. Step-by-Step Borderless Setup in Epson Photo+
- Launch Epson Photo+ and Import Your Photo: Open Epson Photo+ v4.0.4.0. From the main project selector, select Single Photo Print or Collage. Drag and drop your high-resolution JPEG, TIFF, or PNG image into the active workspace.
- Configure the Printer & Media Profile: In the right-hand panel, select your connected Epson printer model. Under Paper Type, choose the exact formulation matching your loaded media—such as Epson Premium Glossy, Ultra Glossy, or Premium Semigloss. Selecting "Plain Paper" disables borderless mode on almost all Epson hardware.
- Enable the Borderless Option: Under the Layout or Margins section, click the Borderless radio button. You will immediately notice the crop boundary extend to the outer edges of the canvas preview.
-
Fine-Tune the Amount of Expansion:
Click Print Settings > Expansion. Epson Photo+ provides three expansion increments:
- Minimum (Min): Minimizes image clipping around the edges. Recommended when composition elements or signatures sit close to the border. Requires precise paper guide alignment.
- Standard (Mid): The recommended default balance ensuring zero white edge risk with negligible crop.
- Maximum (Max): Guarantees borderless output even with slight mechanical paper skew, at the cost of trimming approximately 2-3mm off outer edges.
- Initiate Output: Ensure paper guides are snug against the photo paper stack in the rear feed or cassette, and press Print.
4. Troubleshooting Common Borderless Issues
White Thin Line on One Edge
If a hairline white margin appears along the top or trailing edge, the paper loaded slightly crooked into the feed rollers. To resolve:
- Reload the paper, adjusting the plastic side guides so they make firm contact with the paper edges without buckling the sheet.
- Increase the Expansion slider in Epson Photo+ from 'Min' to 'Mid'.
Ink Smudges on the Back of Paper
After extensive borderless print runs, residual overspray ink on the platen sponges may transfer to the underside of trailing sheets. Run a Paper Guide Cleaning routine from the printer maintenance utility, or feed 2-3 blank plain paper sheets through the printer to blot away excess ink.
Conclusion & Related Tools
With Epson Photo+, borderless photo printing is fast, intuitive, and professional. To keep your printer firmware and color profiles up to date, make sure you also install the Epson Software Updater. If you are comparing workflows, read our breakdown of Epson Photo+ vs Epson Print Layout.